As a show and tell for what happens behind the scenes for our contestants in the Deus Boundless Enthusiasm Bike Build Off, Tim Roodenburg from the Deus House of Simple Pleasures will be taking us through his interpretation of “making the most with the least” on the ever popular Australian “Postie” CT110. See the video here.
Tim is our operations and inventory manager by day, and as a fully qualified mechanic, enjoys picking up a tool or two on the weekend. "Ok, in the previous edition of my build diary - I had just survived a brutal attack from a red back spider who had made home inside my Postie frame. Luckily I survived and was stronger from the experience.So onto the next challenge...
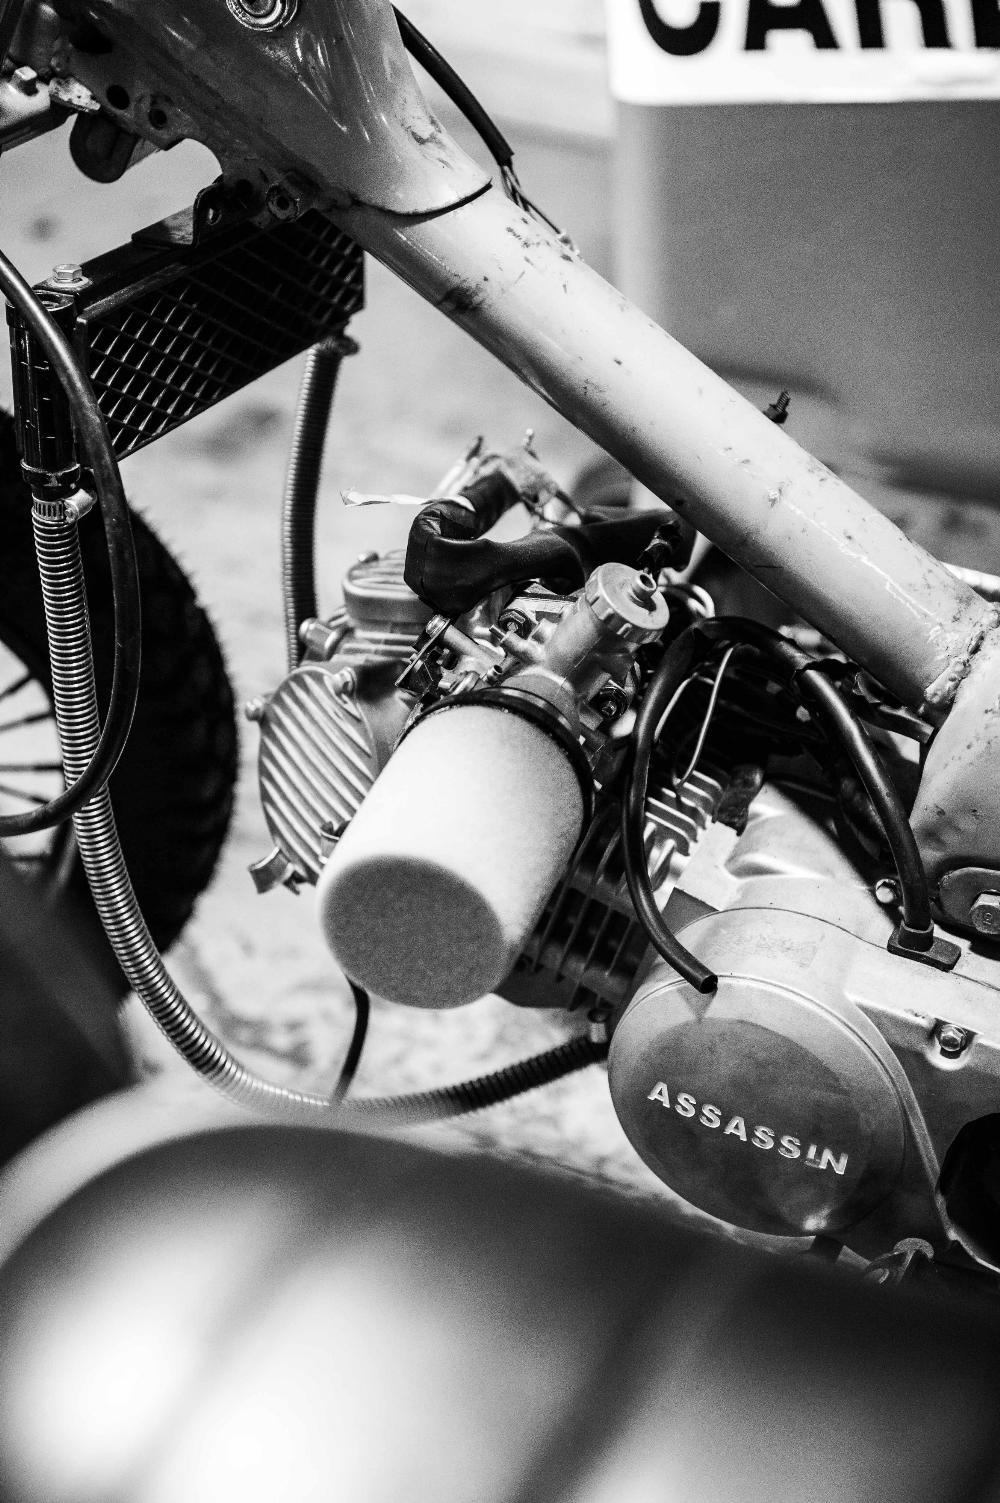
With a bit of manipulation from a long lever bar, a rubber mallet and repeated attacks with a grinding blade, the 160cc Chinese powerhouse (winky face emoji) was installed. I had decided to use the dual exhaust set-up from the chopper postie I had started with and stripped down - I mean why spend money I don’t have right?
I cleaned up the header pipes and then wrapped them with some white exhaust wrap to give it that "ratty" feel.
As the bike had no tail light or indicators, I opted for some Posh black alloy indicators, a black round tail light/numberplate mount and two stainless mirrors. Posh are a little pricier than other brands, but having learnt the hard way that cheap means cheap, I was happy to put some quality Japanese parts on that would last the test of time. Plus they look pretty damn good.
As an aside - I literally have no plan whatsoever with this build, I’m just letting the road take me where ever it leads.
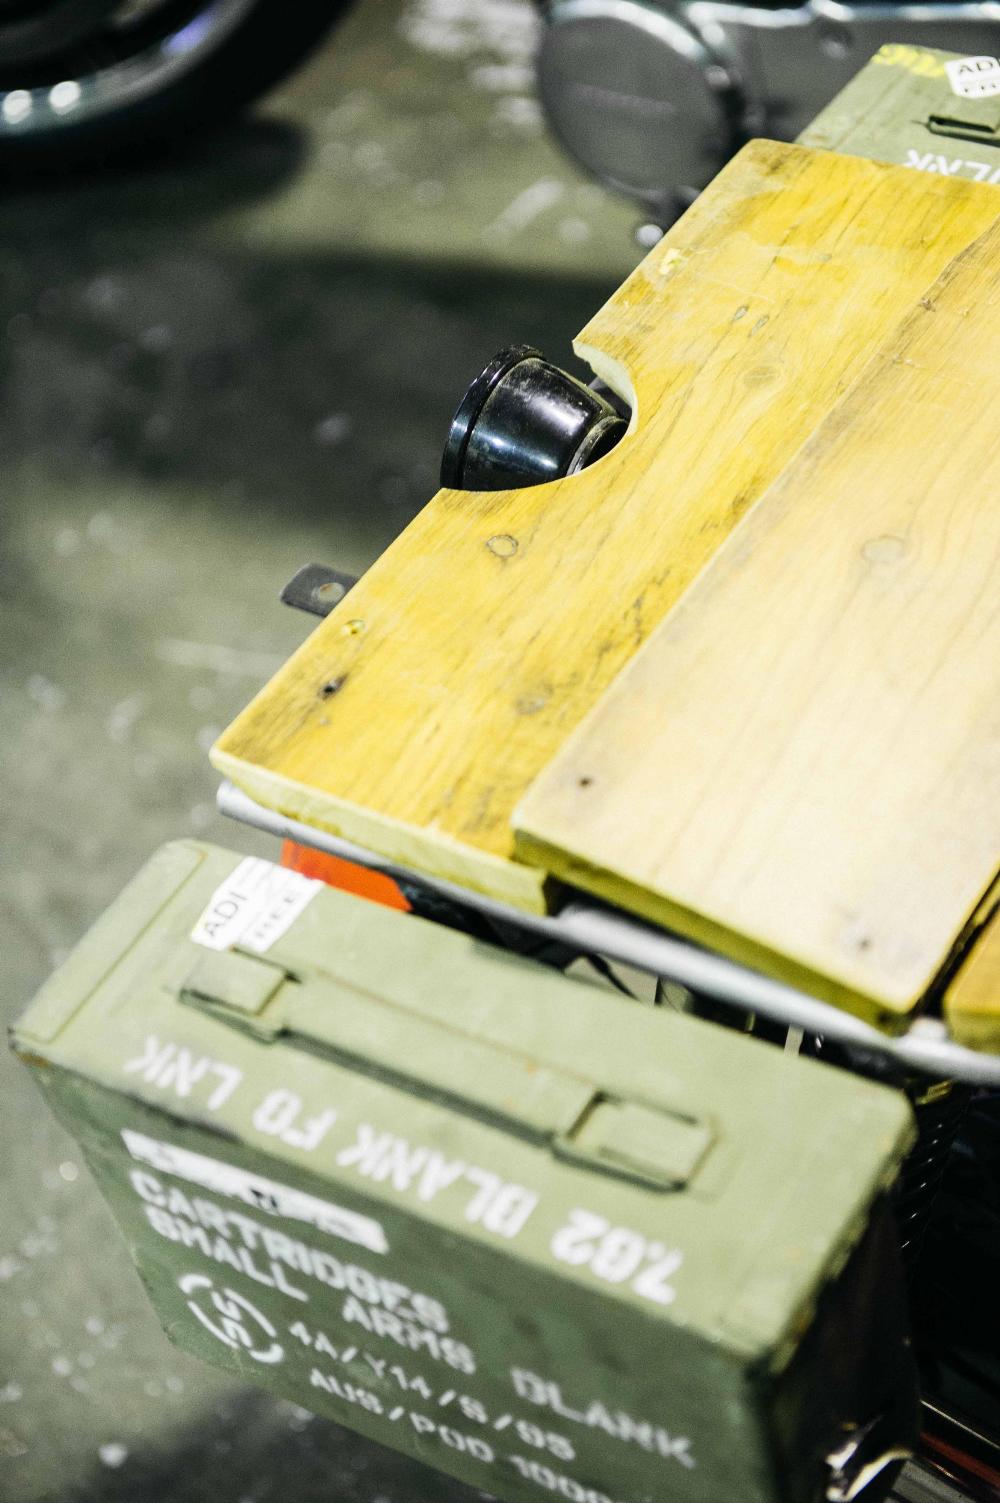
I saw a picture of an ex army Land Rover on some trendy blog - the old girl had a bunch of ammo boxes in the back and they caught my eye so I went straight onto eBay to try to hunt some down. It didn’t take long, within 10 minutes I had bought 2 for $30 delivered, bargain! The idea was to mount them to the old rack that had come in the pile of parts, then maybe throw some timber on top to add a good contrast of colour and textures… I did my version of “panel beating” with a lump hammer, a piece of hardwood and the concrete floor. I then gave the rack some love in the sand blaster to remove the half-assed paint job.
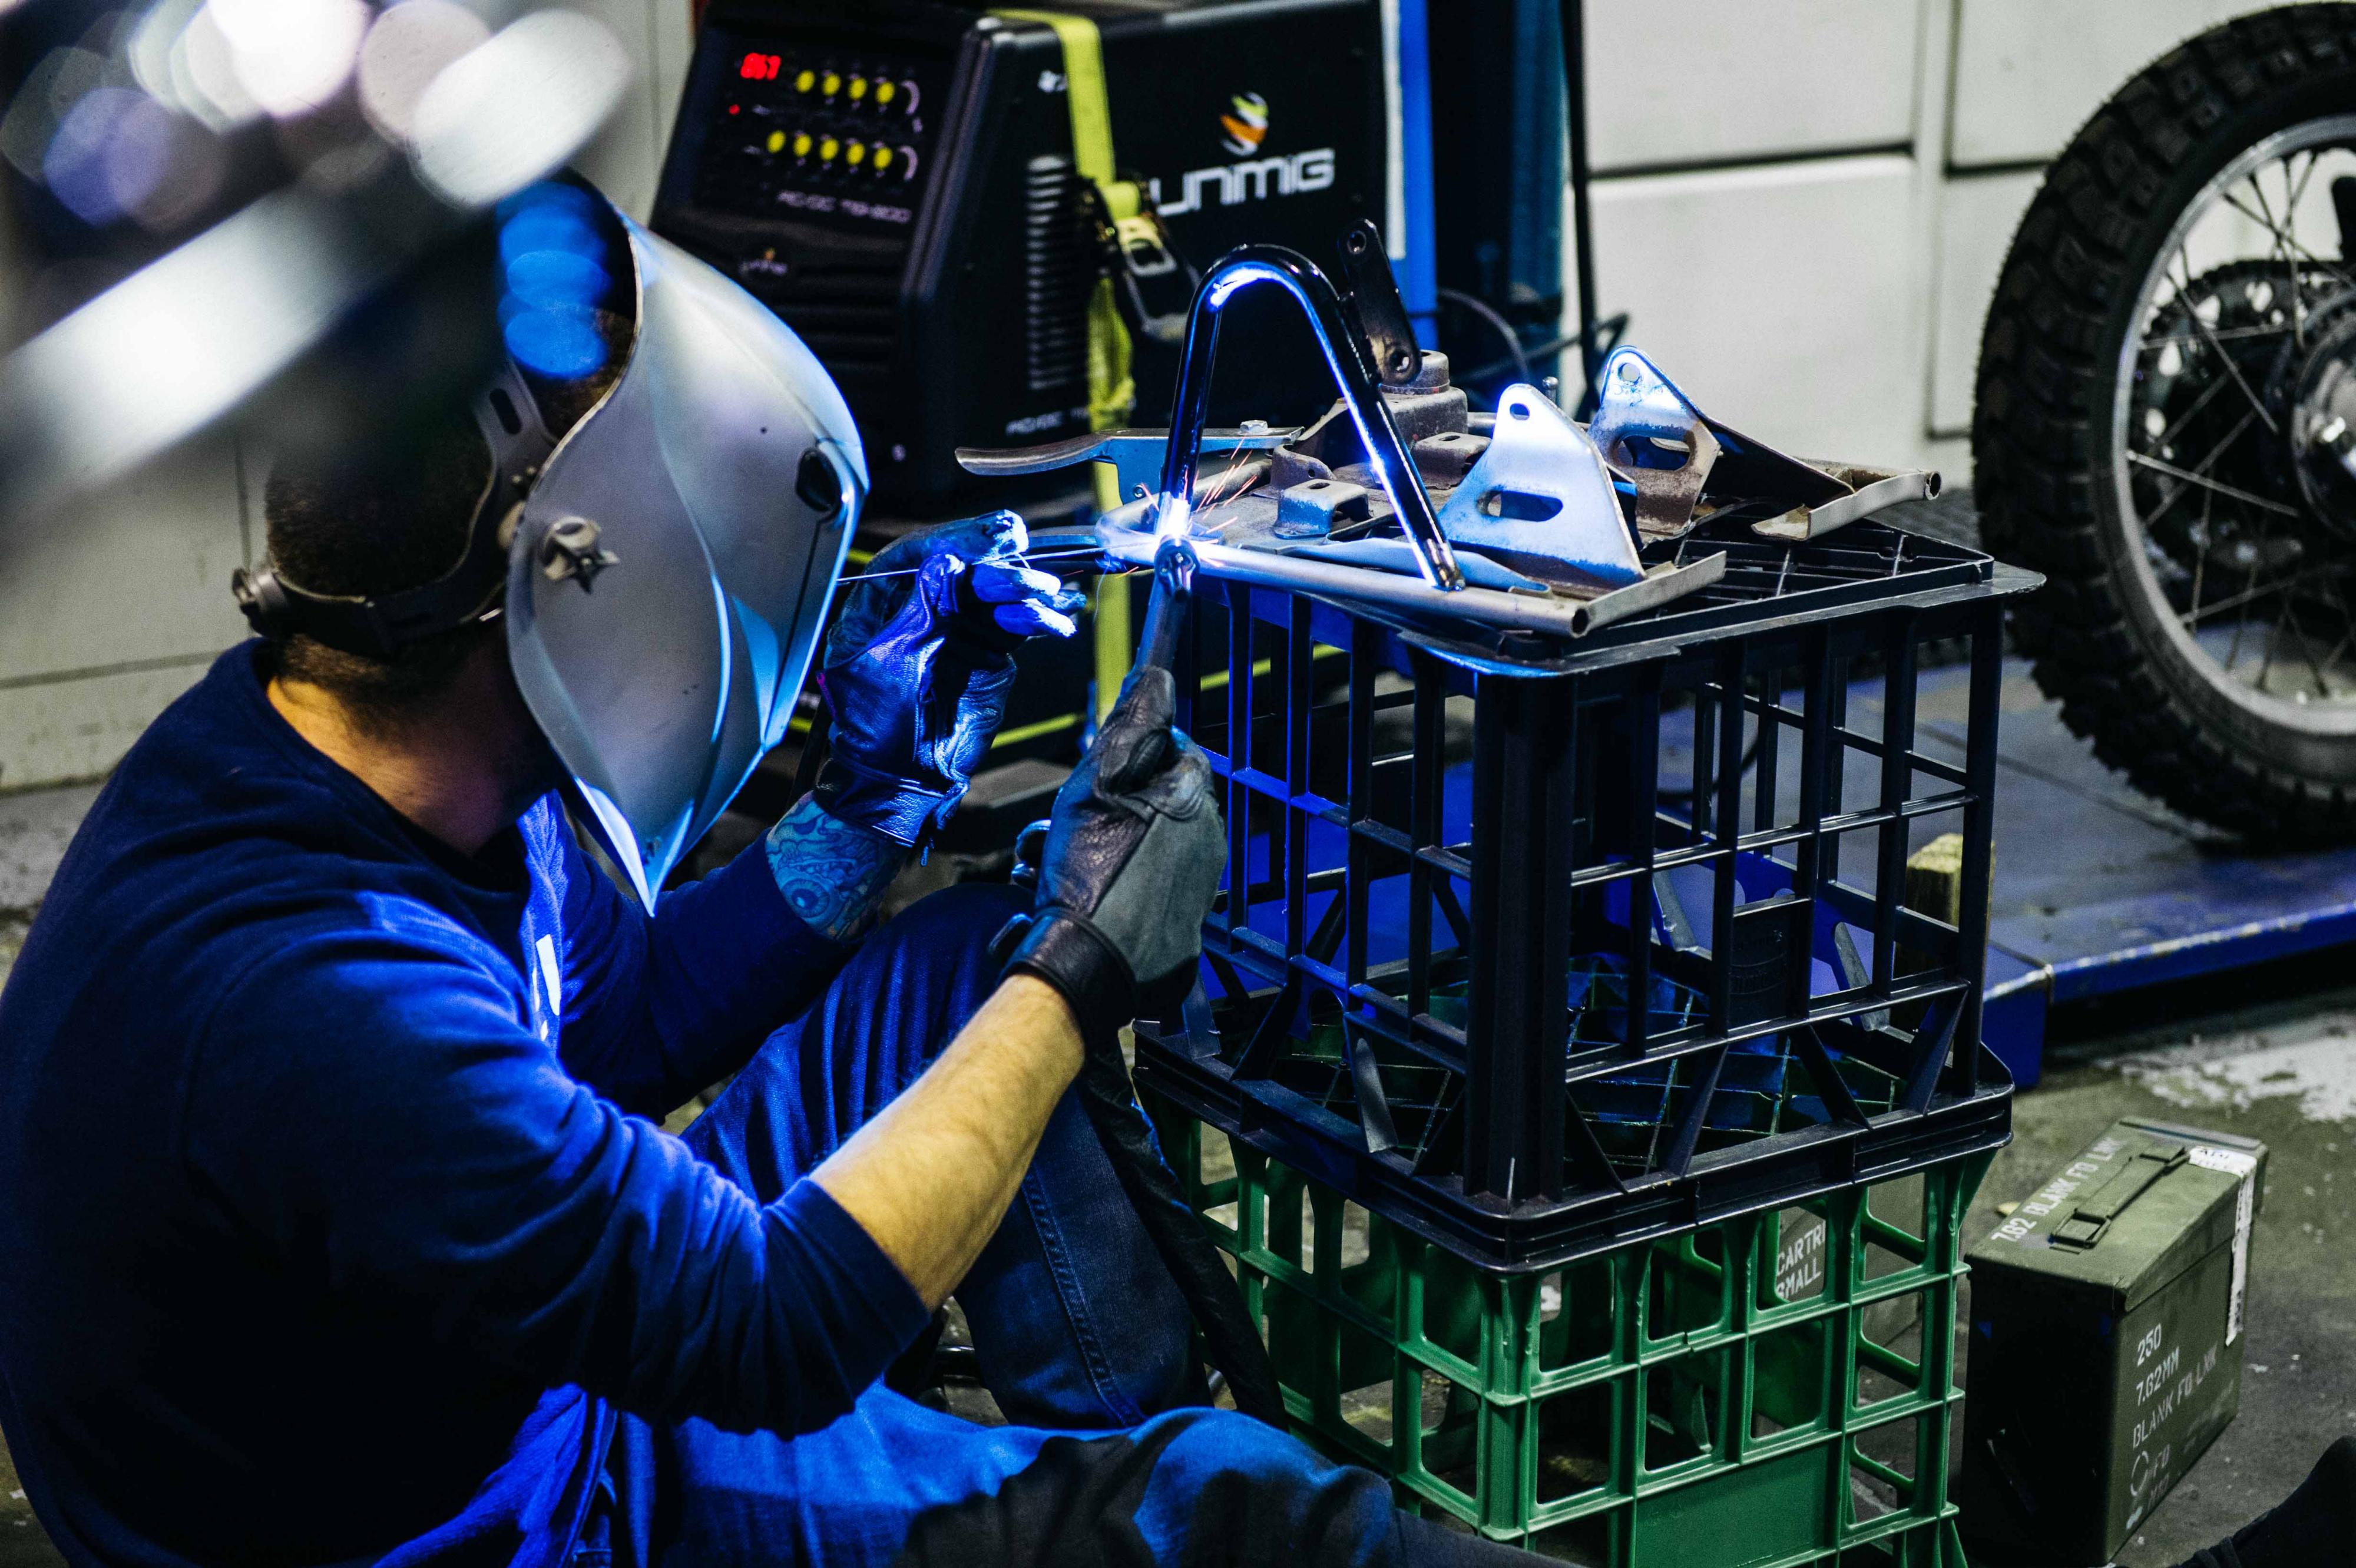
I found some old pillion peg mounts from a W650 in the workshop spares cupboard, cut the pillion pegs off then attempted to weld the mounts onto the rack. I now know, I’m a very average (some would say well below par) welder. I suck! It's hard and it frustrates me, my welds looked like the bottom of a neglected bird cage. Luckily for me, the always patient, always helpful Jeremy Tagand was there to save the day - fixing all my amateur attempts. Thanks Jez.
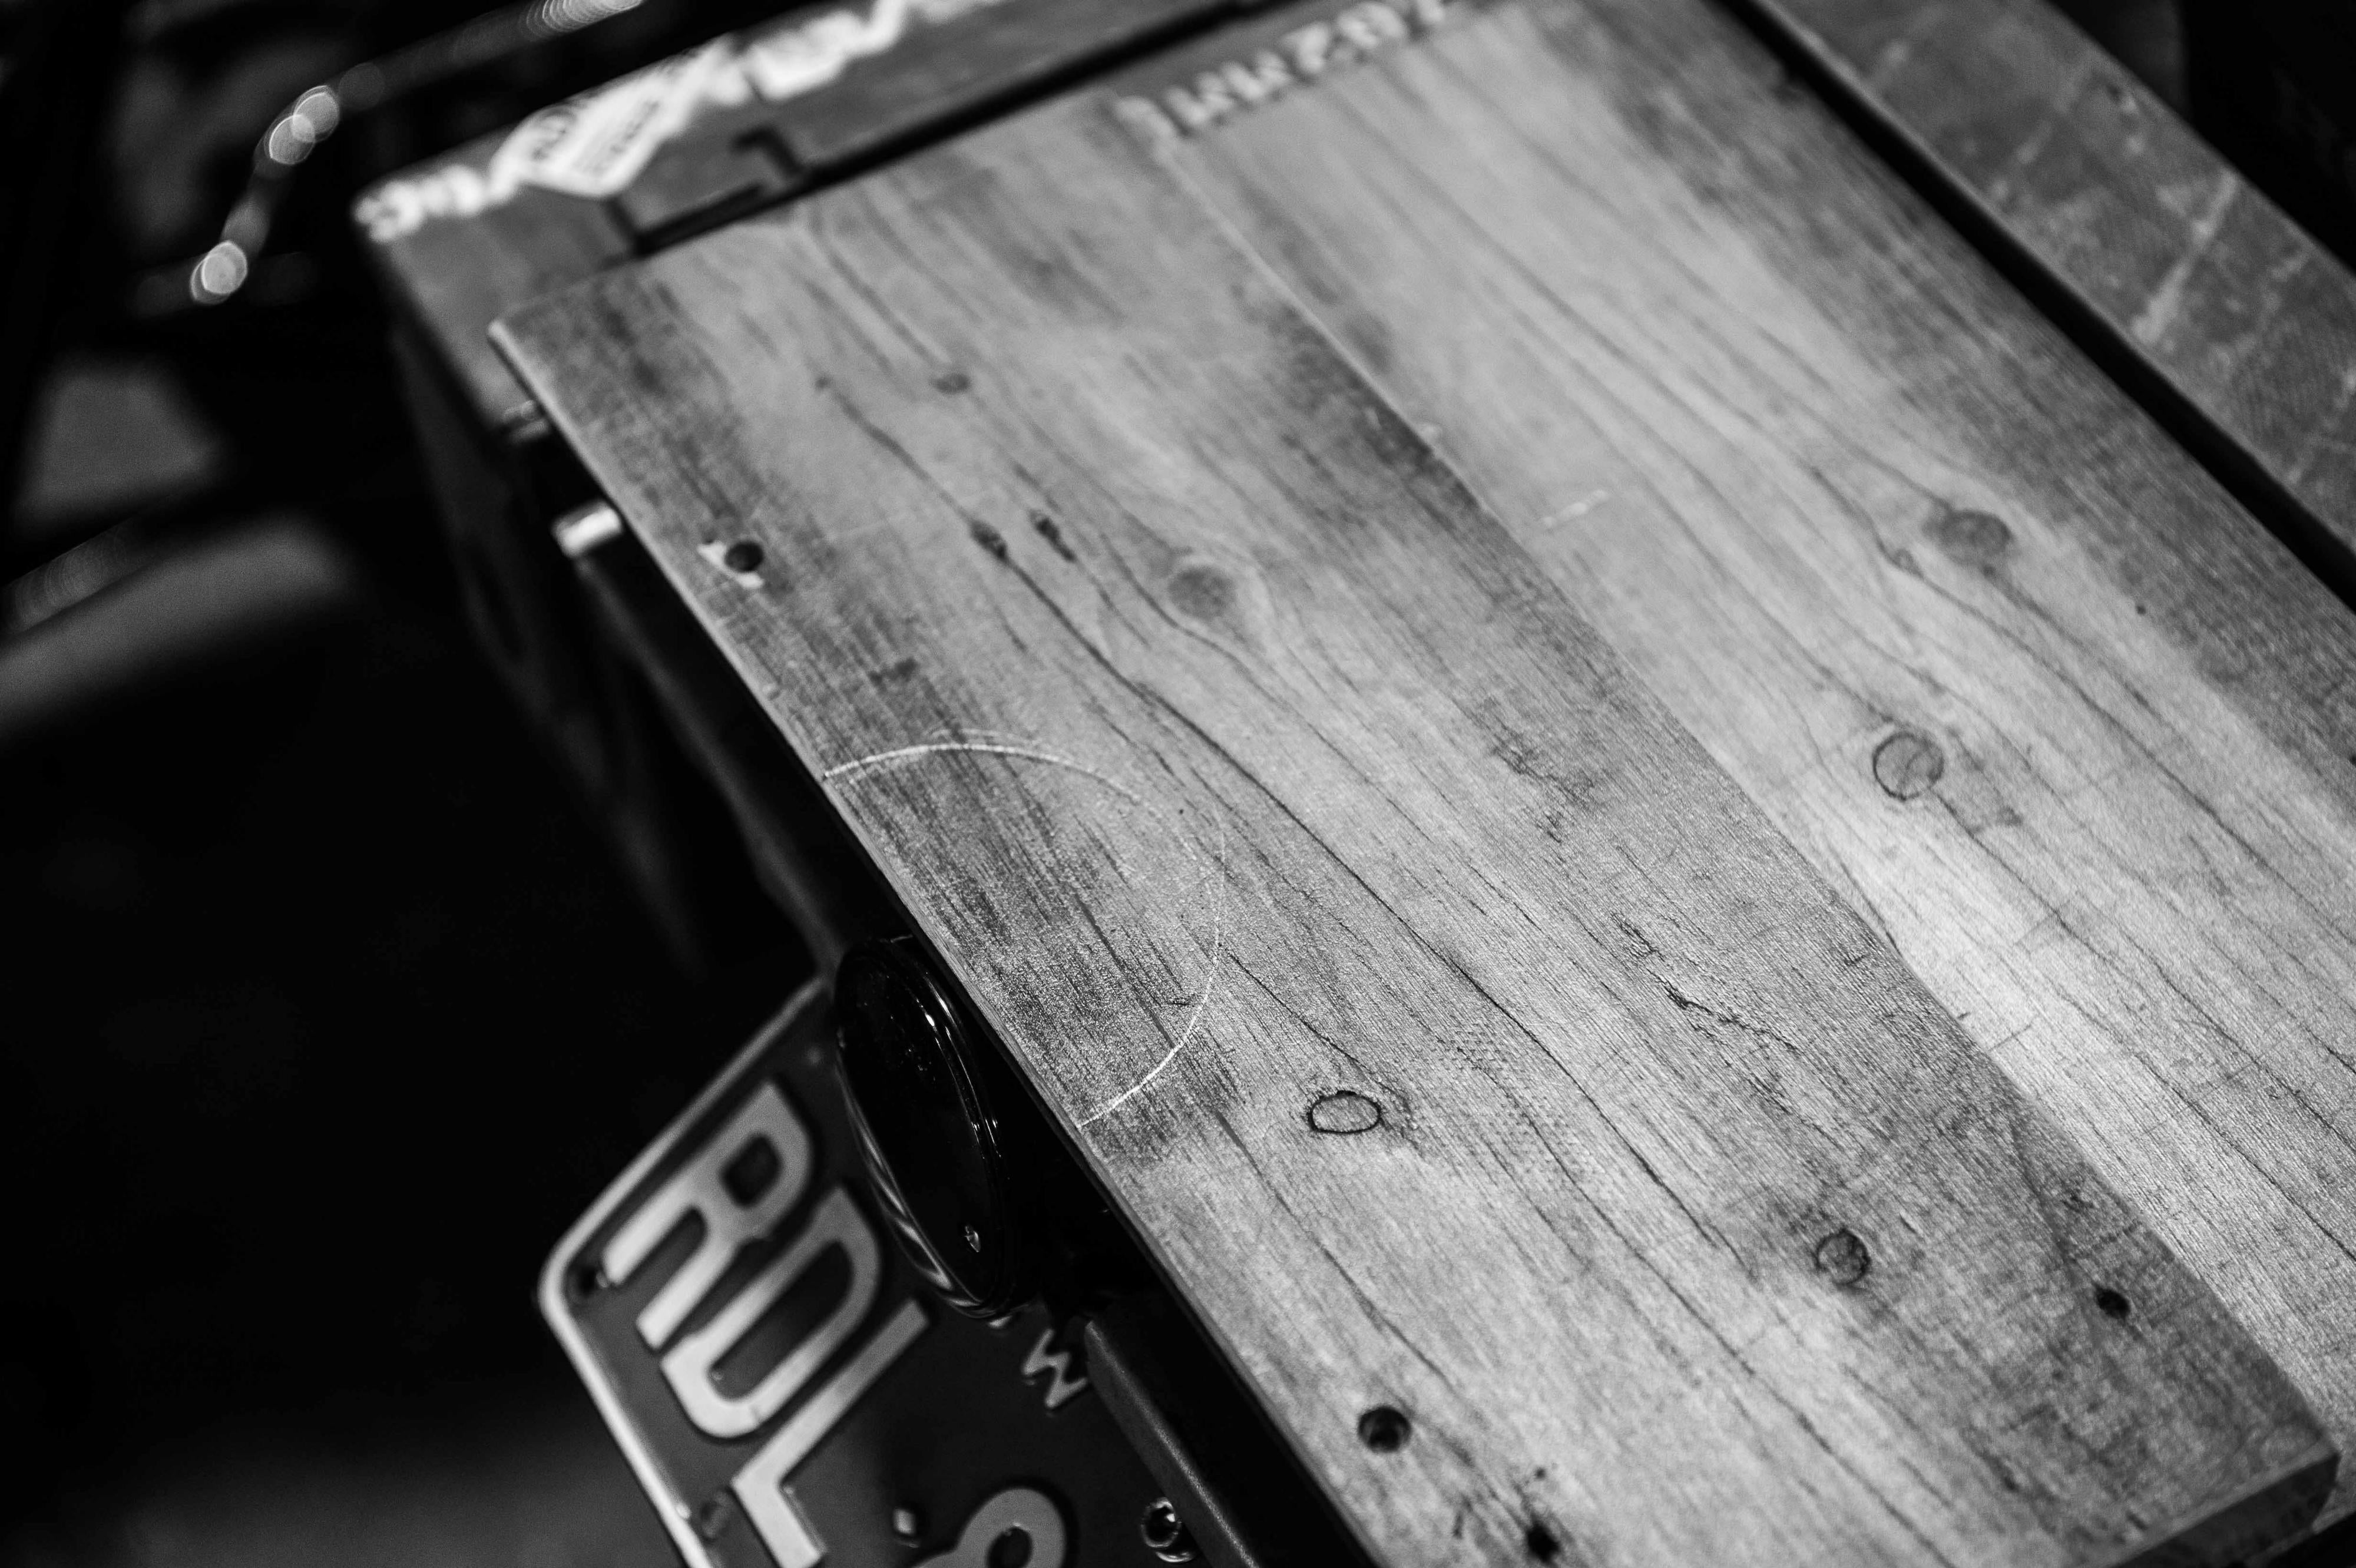
I then mounted the ammo cases with some hard rubber spacers and stainless bolts. I found some spare pieces of old timber flooring, cut them to shape and gave them a quick sand. I should have been a carpenter, nailed it.
I politely asked the team next door (the new Deus Bar & Kitchen) for a "cold one," sat down, gave myself a pat on the back and retired for the day..
There's only two and half weeks until the Bike Build Off, so I had better keep cracking.
Until next time..
Budget Blow Out
Bikes - $1000
2 x Shinko tyres - $102
Pro Taper bars - $90
2 x Posh Indicator sets -$220
Posh Taillight -$100
2 x Ammo boxes - $30
2 x Posh stainless mirrors -$170
Jeremy's time and patience - priceless
Total so far = $1712